Before you start, launch your Sales Assistant and copy your install snippet. Keep it on your clipboard, you’ll paste it in below.
Add the snippet with Wix Custom Code
Wix has a built-in Custom code area that injects code site-wide. This is the right tool for a chat widget, because it loads on every page.- Go to your Wix dashboard and open Settings (left menu).
- Under Development & integrations, click Custom code.
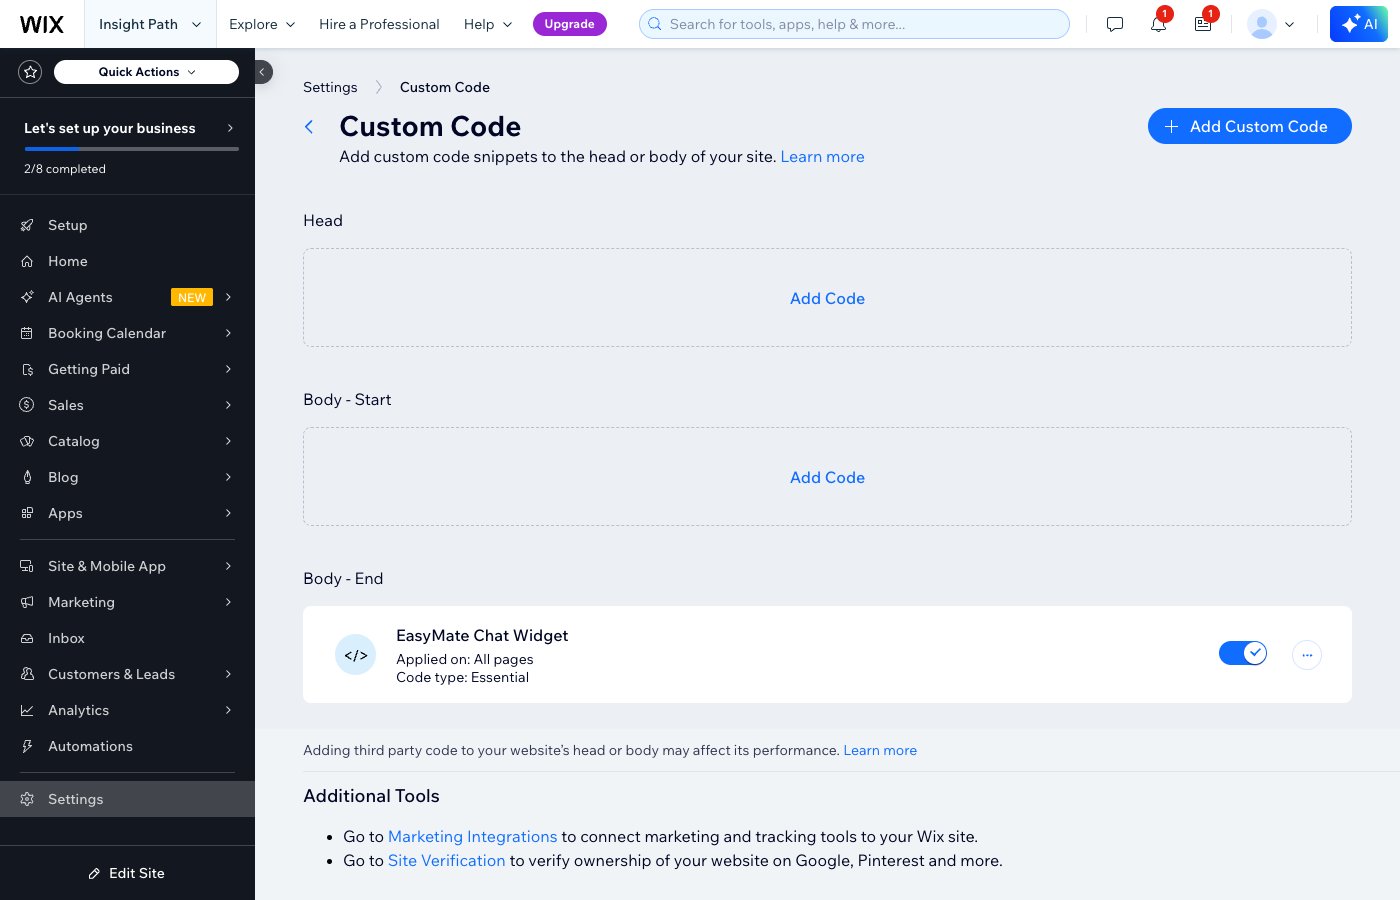
- In the Body - End section, click Add Code.
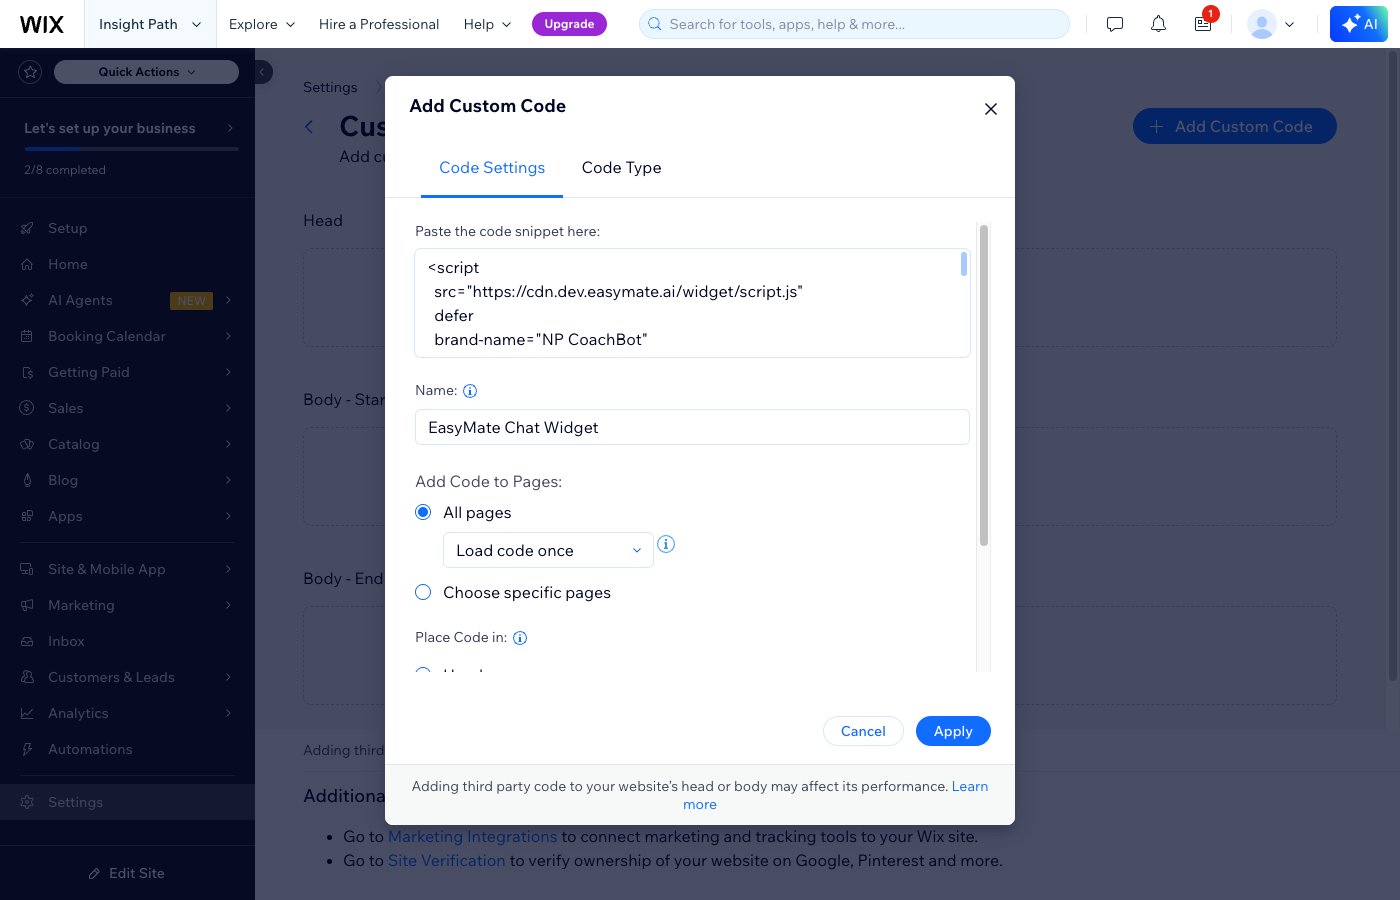
- Paste your EasyMate snippet into the code box.
- Give it a name you’ll recognize, for example
EasyMate Chat Widget. - Under Add Code to Pages, choose All pages and Load code once.
- Make sure Place Code in is set to Body - End.
- Click Apply.
Why “Body - End”? The widget needs to load after your page content. Placing it at the end of the body is the most reliable spot.
A note on the “Embed HTML” element
Wix also has an Embed HTML / iframe element you can drag onto a page. Don’t use that for the chat widget. It traps the widget inside a small box on a single page. The Custom Code method above is what makes the chat button float on every page.Verify it’s working
- Publish your Wix site (custom code only runs on the live, published site, not the editor preview).
- Open your live site in a new browser tab.
- Look for the chat button, usually in a bottom corner, and send a test message.