

Watch a 2-minute overview
A quick 2-minute tour of your Leads Portal.
Who this is for
The Leads Portal is for any business that wants one tidy place to track leads and customers instead of scattered notes, spreadsheets, and inboxes. It’s included automatically when you start with the launch solutions, so your leads always have somewhere to go.Setting it up, step by step
Setup is short, and EasyMate fills in sensible starting points you can adjust.1. Lead journey
Lay out the stages a lead moves through, from first contact to becoming a customer. EasyMate starts you with a sensible default: New Lead, Qualified, Demo Completed, Proposal Sent, Contract Sent, Won, and Lost. You can rename stages, drag them into the order that fits your business, add your own, and mark which stages mean you won or lost the deal.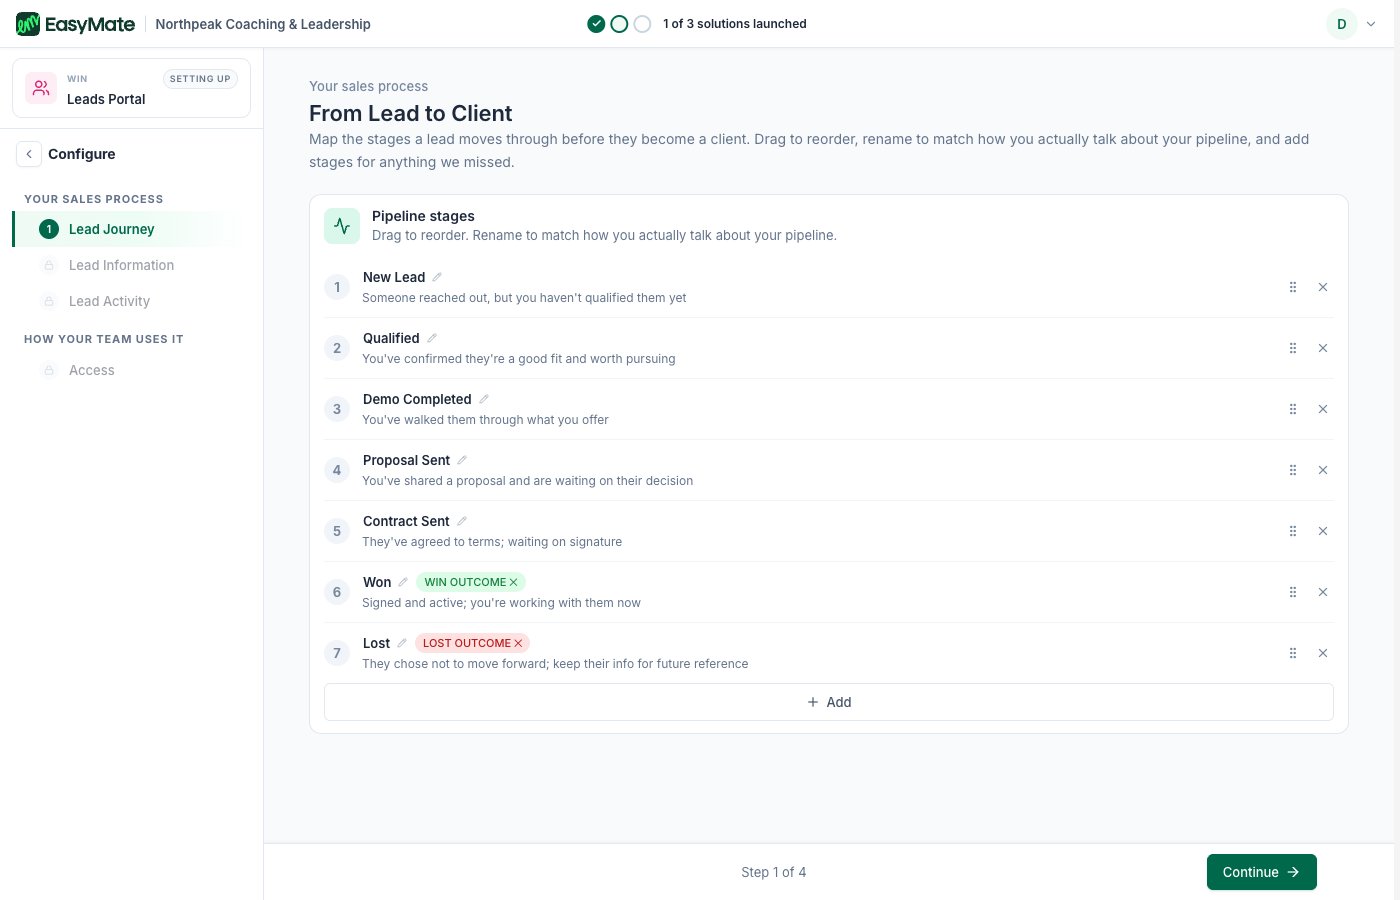
Set up the stages a lead moves through. Drag to reorder, rename to match how you talk, and mark your won and lost stages.
2. Lead information
Choose what details to keep on each person, like name, email, phone, company, or budget. You’ll see a section showing the details your Sales Assistant already collects. Those are filled in for you automatically and kept in sync, so you don’t have to set them up twice.The fields your Sales Assistant captures are managed from the Sales Assistant. If you want to change them, edit them there and the Leads Portal updates to match.
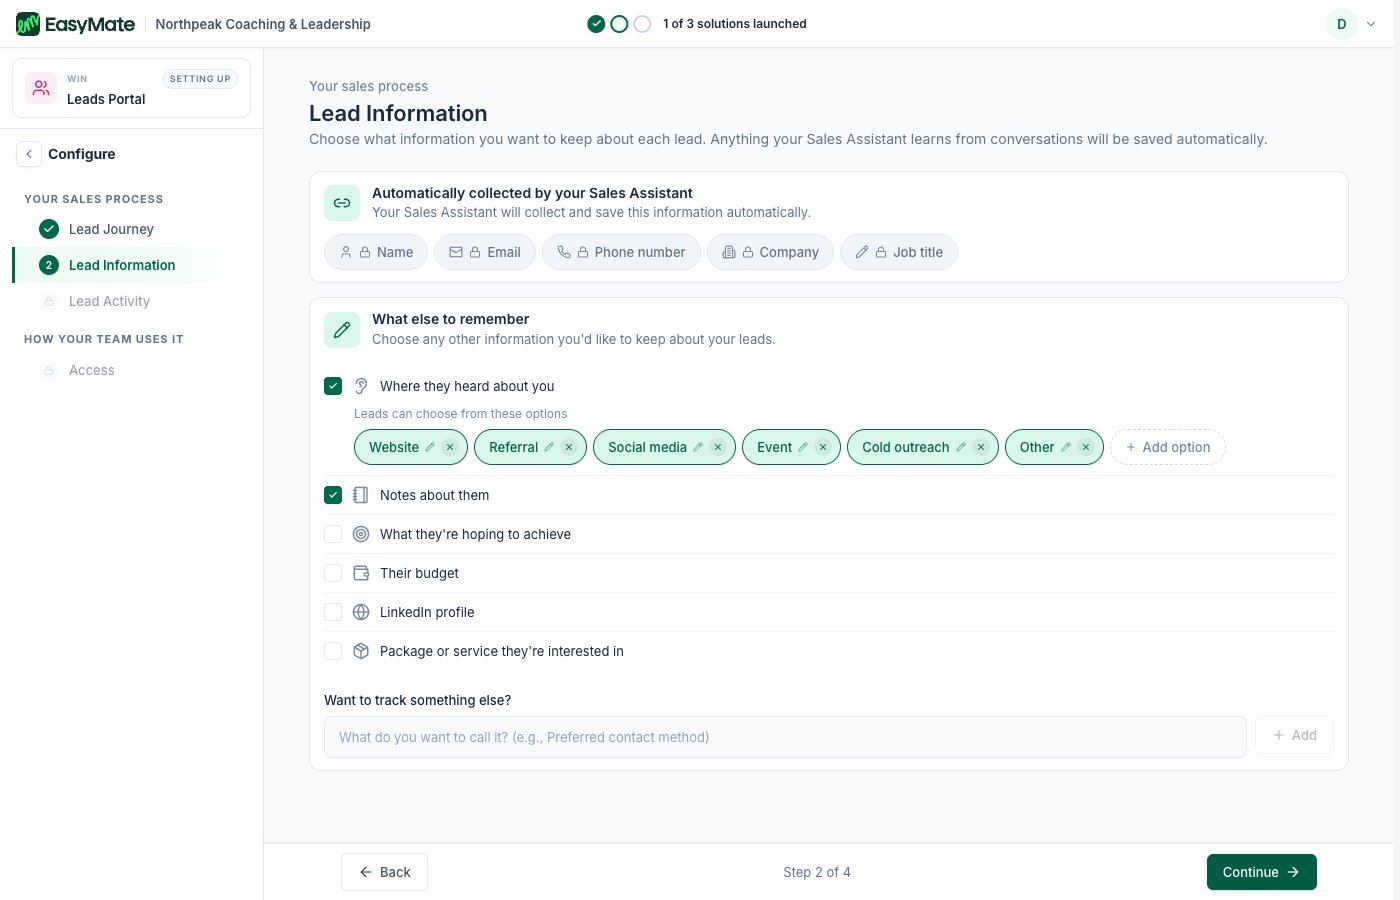
The details your Sales Assistant collects are filled in automatically. Add anything else you want to track.
3. Lead activity
Decide what to record each time you interact with a lead, such as the date, the type of contact, notes, and the next step. This keeps a clear history on every person.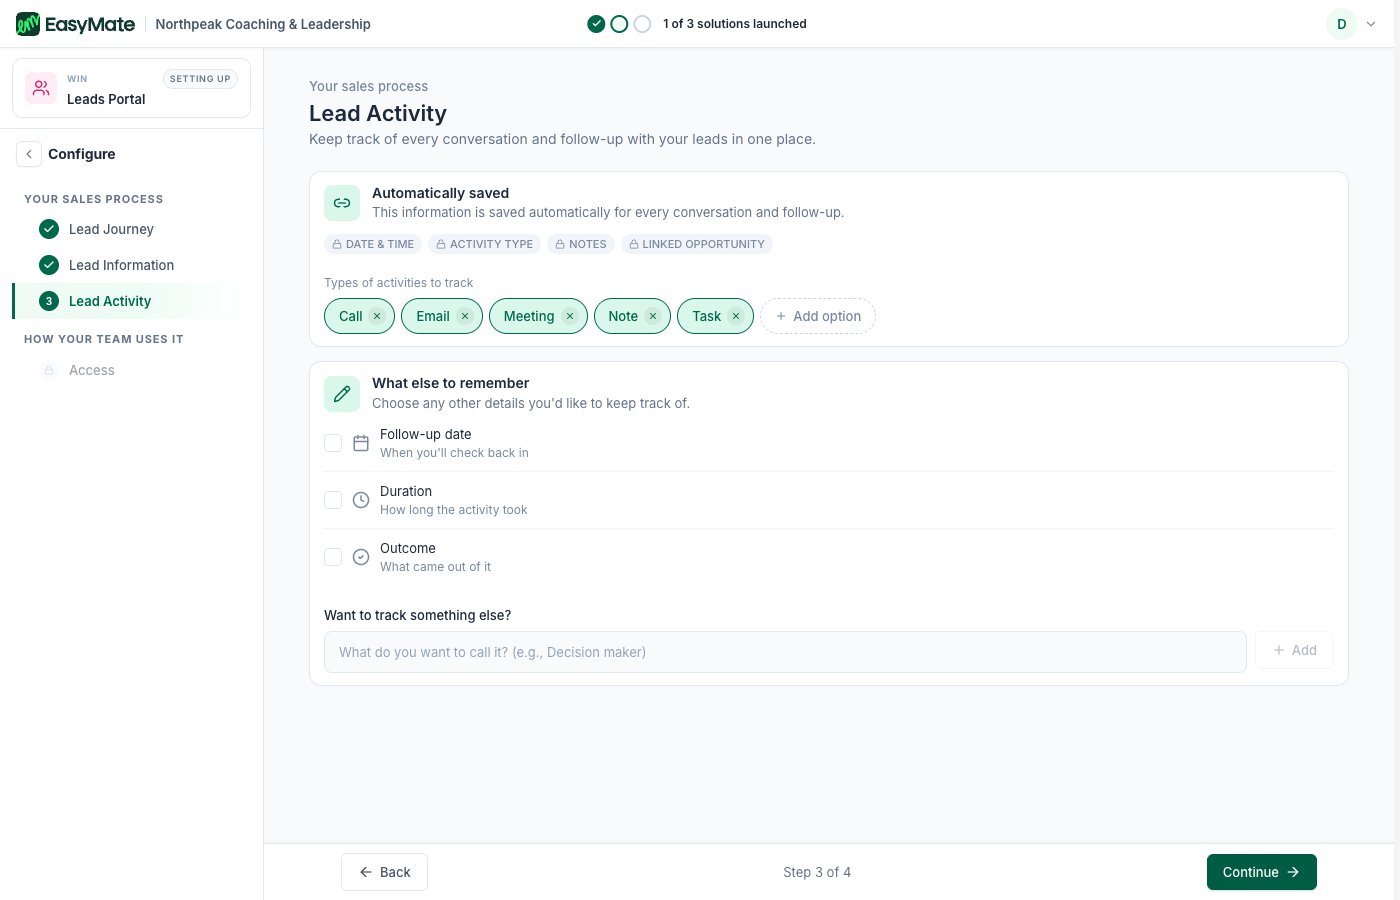
Choose the kinds of activity to track, like calls, emails, meetings, and notes.
4. Access
Choose whether it’s just you or you and a team. If you work with a team, you can turn on simple roles so the right people have the right level of access.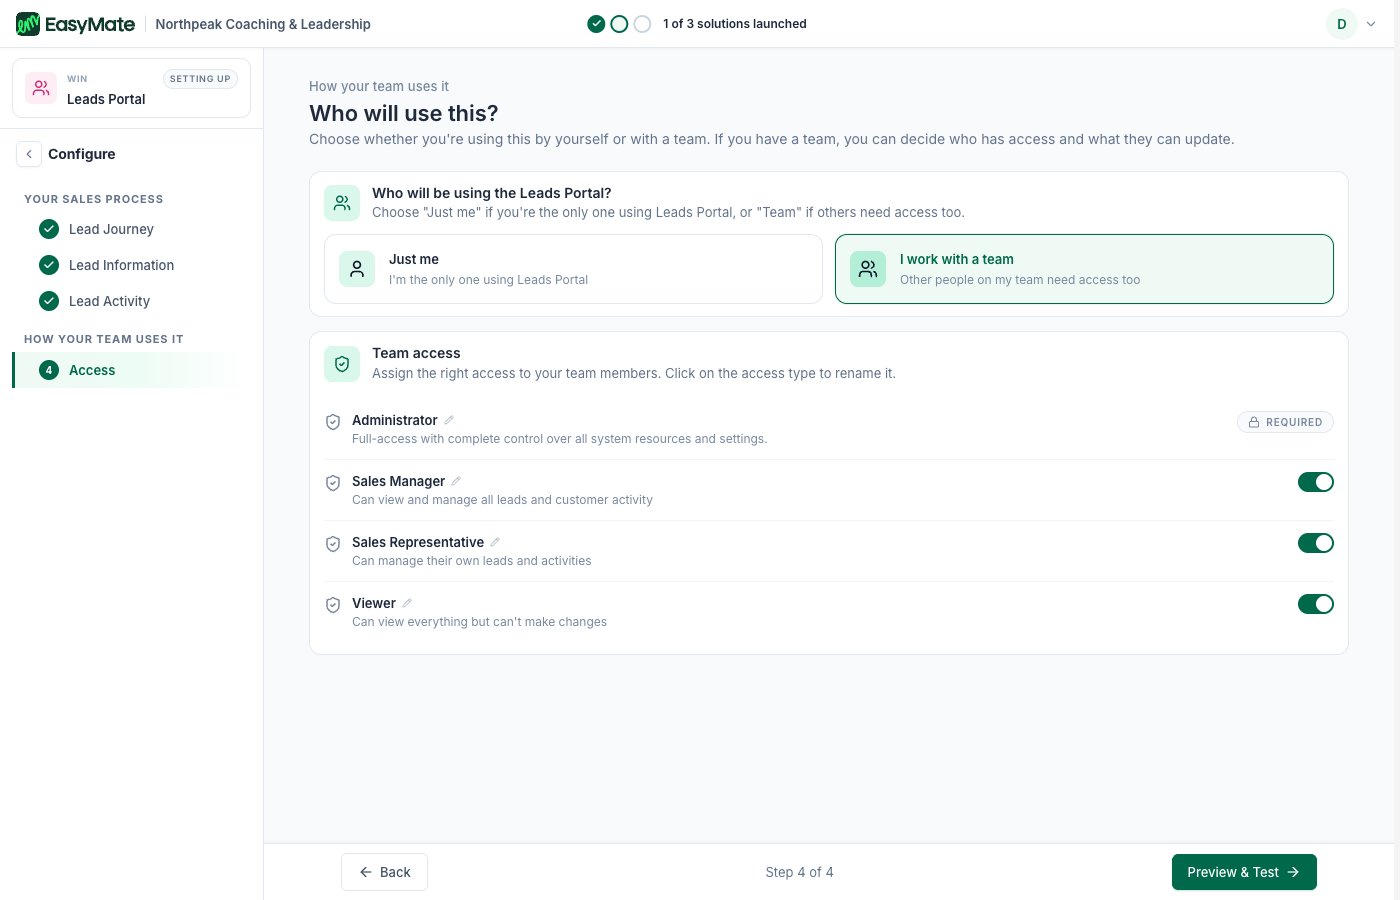
Decide if it's just you or a team. For teams, turn on the roles you need.
A few finishing touches
After the main setup, a few optional steps appear from your Leads Portal’s page. They’re covered in Branding and settings:- Look and feel: add your branding so the Portal feels like yours.
- Integrations: connect the other tools you already use.
- Web address: the link where your Portal lives.
Launching your Leads Portal
When you’re ready to give your team access, launch it from the Launch screen.- Open your Leads Portal and go to Launch.
- Click Launch Leads Portal, then confirm.
- Copy the App URL and share it with your team so they can sign in.
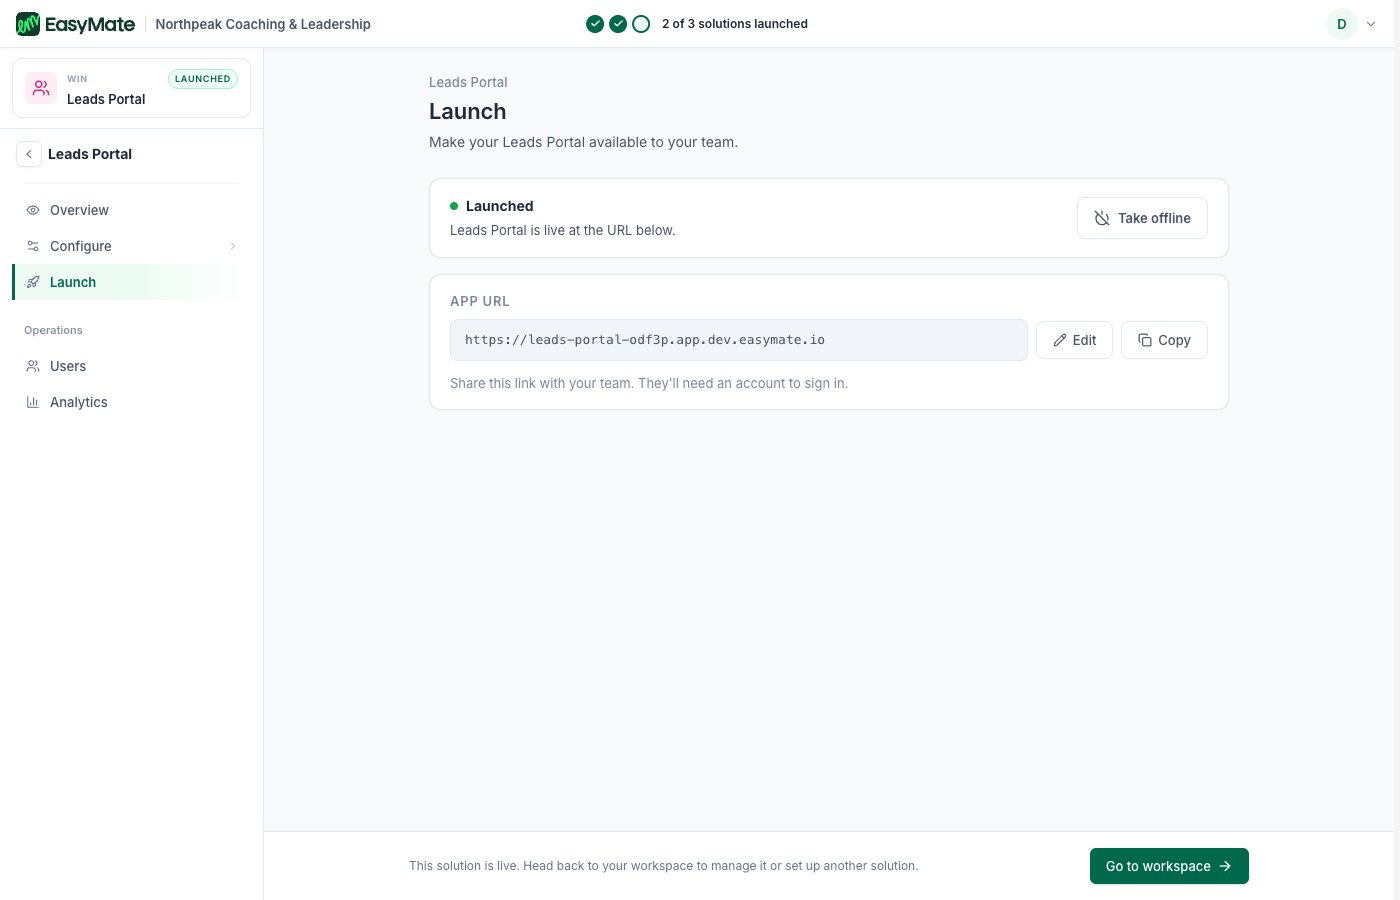
The Launch screen shows your Leads Portal's web address. Copy it and share it with your team.
Two things control who can get in: your app has to be Launched (see App Info) and each teammate needs an invite (see Your team and roles).